Logo
User's Guide : Create a Ptex file
Stripes can only paint Quad PolyMeshes. This means that the object must be a PolyMesh, and all it's faces must be Quads.
Open the file Kayak.max.
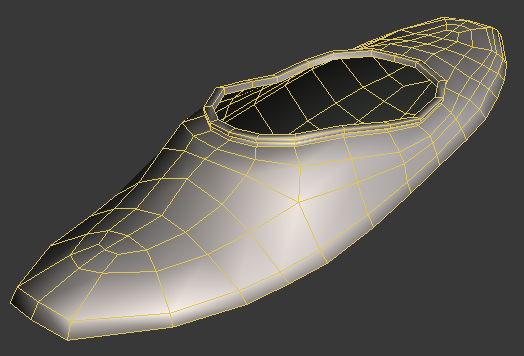
Select the Kayak object, and in the Utilities Tab open the Ptex Tools utility.
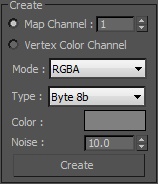
In the Create group, set the mapping channel to Map Channel 1, the Color mode to RGBA and the type to Byte 8b. You can also set a basic color for the Ptex file, and the noise spinner will add some noise to the Ptex texture.
Click the Create button
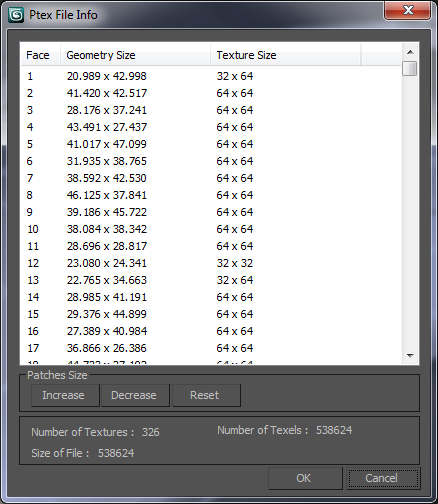
After clicking the Create button, a Ptex File Info window is displayed with the size in max units and in pixels of each face. Ptex textures are restricted to Power of 2 images. By default the smallest edge is assigned a value of 4 pixels, and all other faces are sized relatively to this smallest edge. The size in pixels of the faces can be increased or decreased, or can be reseted to their default value.
The info box shows the number of images, the number of texels and the approximate size of the file without compression.
Click OK.
After the Ptex File Info window is accepted, a Save Ptex File dialog box is displayed. Set the path and name for the new Ptex file.
Click Save.
After the Save Ptex File is accepted Ptex Tools creates the Ptex file with 4 8-bit channels (RGBA). The size of each face is set to the values set in the Ptex File Info window. Ptex Tools then applies a Ptex Auto UV modifier to the selected object right after the Editable PolyMesh, and also applies a new material with the new Ptex file using the Ptex Color texture.
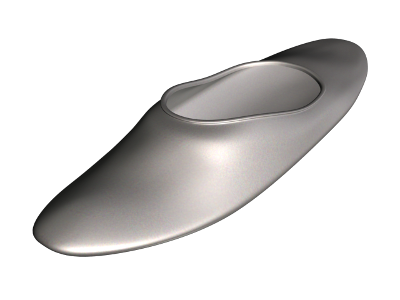
After the texture has been created the object is ready to be rendered. Apply a MeshSmooth modifier to the Kayak. Be sure to apply it on top of the Ptex Auto UV modifier.
Previous: 3dsmax Ptex plug-in
Next: Bake a Ptex file